EEEEC: Astrid Sudreying’s Courier Satchel Collaboration
Entered under Inspiration, Collaboration, Preparation
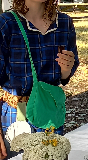
At Canterbury Faire ’23 there was a discussion about the couriers needing proper sashes so that people could easily see who was actively being a courier. In consultation with the post master Lord Zoltan, we hatched a plan for satchels. They needed to be green with yellow trim, and adjustable so that many different sized children could wear them.
We started out making a pattern for the bags. This was a little different, as the straps were to be unattached at the top. The fabric we found was a bit floppy. We couldn’t get a decent canvas in the right green, but we made the bags more structurally sound by having double layers. In all we managed to make 8 bags total. Bennet being a speed weaver of kumihimo cords, managed to get one bag completely decorated by Canterbury Faire this year, but finished the rest after.
Outcome: The original idea was to fit the bag straps to each child and stitch them down, but the children quickly nixed this idea by tying the ends in a knot. A practical and speedy solution. We also received feedback that we were thinking about the decoration too much like adults, and they would like more ribbons and tassels for next year please. The sashes, being made out of too floppy a material, tended to fold over rather than sit flat. If more are made in future, it might be better if they are made in a sturdy canvas.
Ailith Ward, Astrid Sudreying, Bennet Vernon, Zoltan di Magnifico
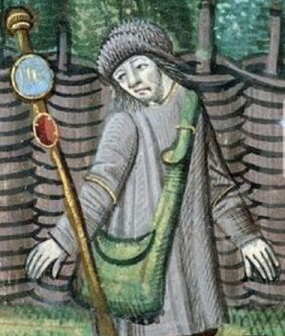
Having made an orange brocade Swabian gown for the CF feast last year, I was inspired to make a similar gown for wearing about on the tourney field.
I’m very fond of Roman clothing to cope with the warm summer weather at CF, but I am ever in search of late period clothing that can be worn on hot days. The Swabian gowns with the wide neck line, and shorter cut away sleeves are definitely a good solution. And the gefrens (the fringe at the back of the head) provides some useful protection from the sun. This gown was inspired by a similar coloured dress in ‘The Dance of Salome” by the Master of the Carnation, c 1490.
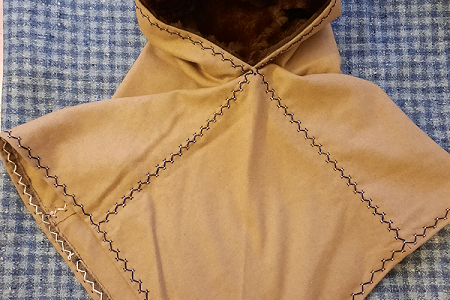
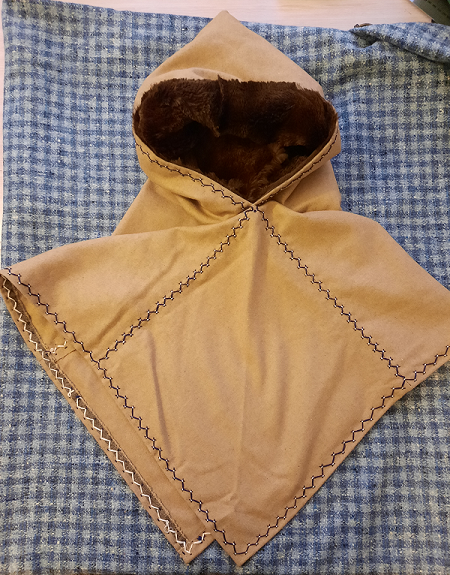
EEEEC: Magdalena de Narbonne’s Viking Hood with Embroidery
Magdalena shares this Viking hood with embroidery in the category of preparation.
For use at Yule/winter events
Made in prep for the Yule event -knowing that it is held in midwinter, inland close to the alps, I thought it a good idea to keep myself cosy!
The hood is constructed as a typical rectangles-and-squares assembly skoldenham Viking hood, out of a wool fabric. The hood portion is then lined in a chunk of satin rabbit fur, which is both marvellously cozy and incredibly soft!
The embroidered detail is for both form and function as it is how the item is hemmed, and also holds all the seam allowances open and flat on the inside.
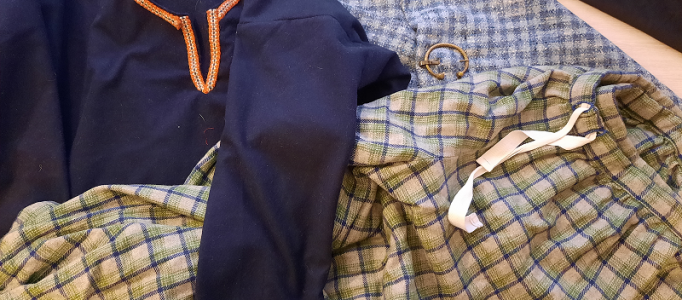
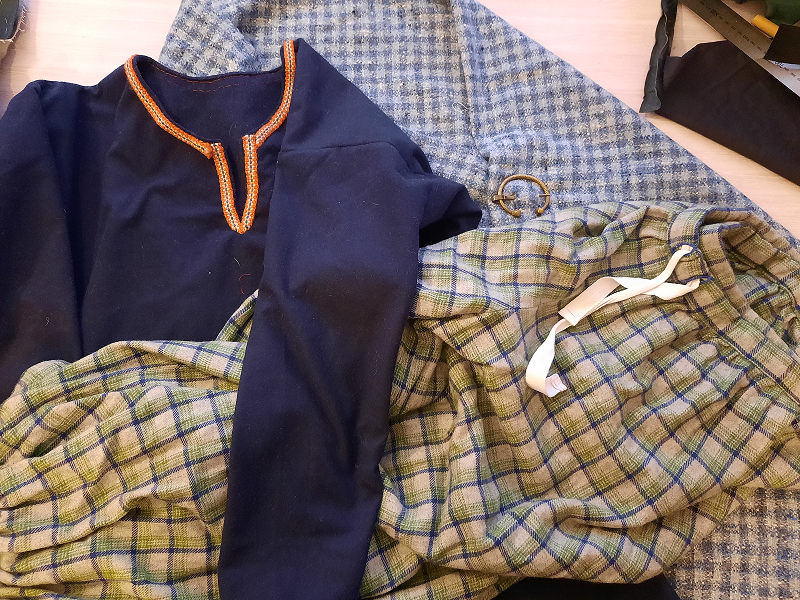
EEEEC: Magdalena de Narbonne’s Viking Garb for winter
Completed in preparation for winter, Magdalena writes about the Viking garb she made for use at Yule/winter events
“An entire outfit sewn in wool (or wool-rich at the very least!) fabrics, to keep me cozy but mobile at the midwinter Yule event. These are all very simple garments, made for a typical sca style Viking-ish look rather than being an attempt at a historically accurate ensemble. The tunic is a basic long sleeved tunic with gores in the sides, and a keyhole neckline. The trousers are a very voluminous style with Eid legs cut straight and then gathered to a waistband with a drawstring, and small bands for the cuffs to help corral said volume – the legs were each cut the full width of the fabric, so the only fabric waste from this is the little crotch-seam curves, and I could fit it all in a single handful! The cloak is simply a rectangle of wool hemmed along the cut edges. And that’s that! Simple, easy, and I just add a belt and my embroidered hood (separated entry), boots and I’m good to go 🙂 “
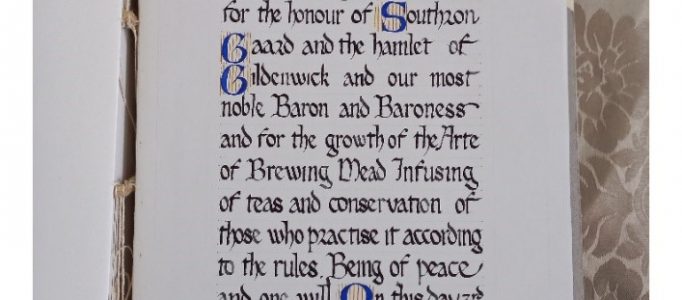
EEEEC: Astrid Sudeying’s Scuola and Mariegola for the Gildenwick Society of Infusers, Distillers, Brewers, Quaffers, and Other Professional Drinking Persons.
Entered in Imitation, Preparation, Participation, Exploration, Collaboration and Inspiration, this multi-faceted entry is ably described by Astrid:
“The Gildenwick Mead Society came about from the need for a group salutation after a tipsy missive was sent to one of our lovely Baronesses. A year later (at Canterbury Faire 2023) and we had started making up silly rules for our society. After a delicate nudge/inspiration from Her Excellency katherine kerr, I began exploring the possibility of using our ragtag bunch to create an informal, yet cohesive group based on the guild scuolas of Italy, around the mid 1500’s. The idea being that we would, like the various guilds that made up each scuola in period, include the mead makers, tea infusers, distillers, poisoners, alchemists or any other liquid arte that the members of Gildenwick were experimenting with. The long-suffering members of Gildenwick participated in and put up with many votes and discussions on what we did and didn’t want to be and how we would govern ourselves as a functioning scuola.
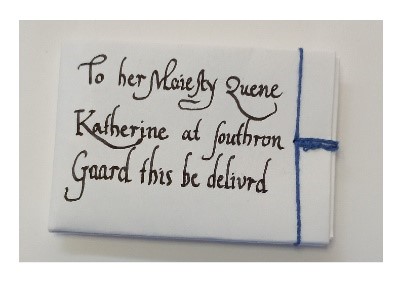
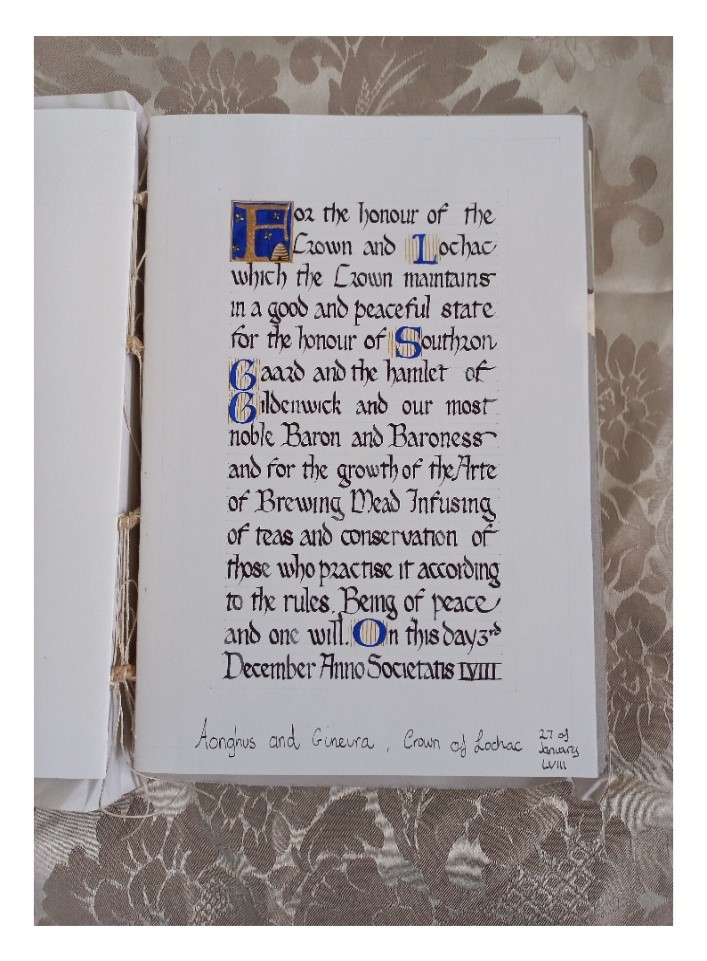
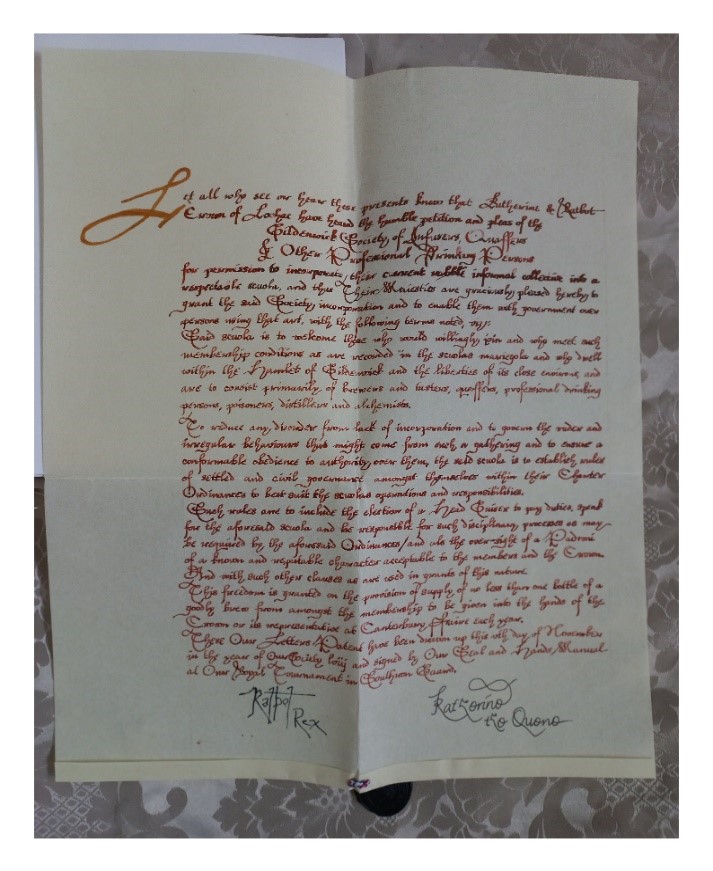
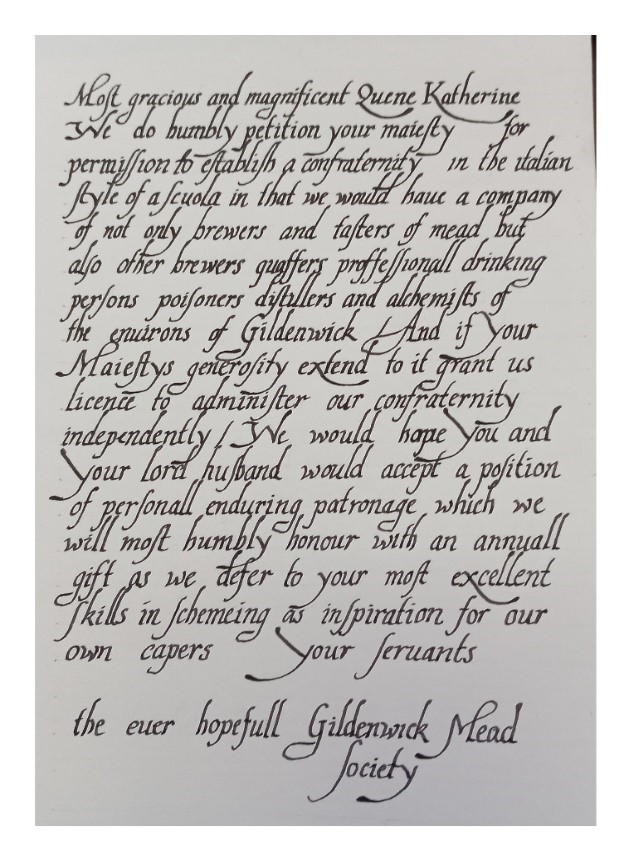
“By this time our Mistress had become Quene katherine, and so I used choice phrases from a letter to Queen Elizabeth on the subject to write her a letter of request for permission to start a scuola. My goal had originally been to have our scuola prepared for next Canterbury Faire, but the timeframe moved up so that we might be given permission for existence from “Our Quene”. She responded with a parchment decree, handwritten and sealed by both their Majesties.
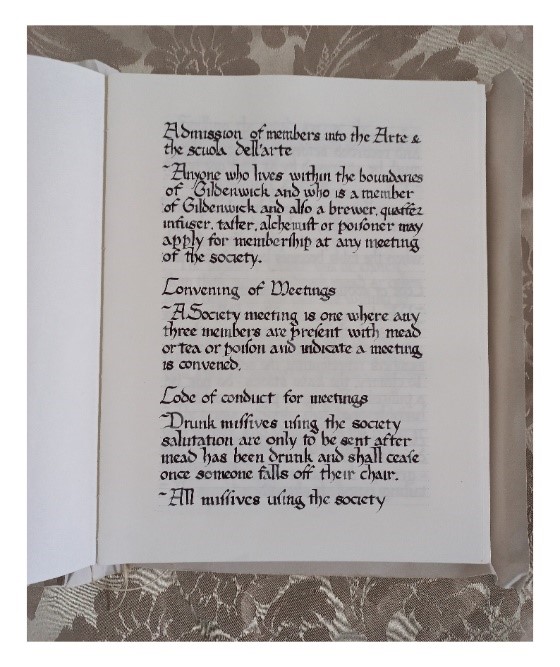
“One of the key artifacts of any good Scuola is it’s Mariegola. A book within which is held all the rules, regulations, punishments, patrons, and participants of the Scuola. I decided that the book itself would be made to Imitate one from the mid 1500’s Italy, and so I consulted “The Archaeology of Medieval Bookbinding” to make sure I was constructing it correctly. I found rather quickly that the rag paper I could get was not useful for handwriting, only printing, so I had to compromise and use a good quality paper instead. I half sewed the book, with the extra pages that would be used in future, and then tacit collated (with cord, not parchment) the front pages, so that the book could be brought to Faire ’24 and presented for ratifying to the new Queen, while still being able to be deconstructed so I can illuminate it in future.
“I chose Rotunda style hand to learn for the writing as this was the style I could find being used within Mariegola from the time period and place especially the Mariegola della Scuola Grande di San Giovanni Evangelista. As I am new at the scribal arts, and I had what felt like a very short amount of time to get comfortable with writing and the specific hand, I am aware of many mistakes within the Mariegola, (and the original letters to the Quene) but am glad the bulk of the writing was done in time. It will have to suffice – warts and all. Eventually I will finish the formal part of the writing and illumination of the book and leave the rest of it to be filled with recipes, new members, mead tastings and miscellanea of the scuola.
“In collaboration with: Mistress Katherine Kerr, Master Bartholomew Baskin, Lady Ailith Ward, Lady Eryl the Beehyrde, Lord Emrys Grenelef, Lord Baldwin the Wanderer, Lord Zoltan di Magnifico, Lord Kevin Ost, Benet Vernon, Harold Brewster, Oberon, Louise, Rosemary, Levi and Helena of Gildenwick.”
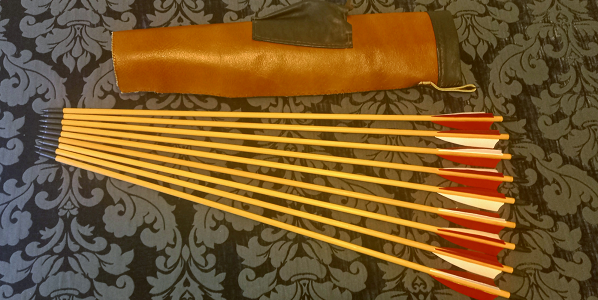
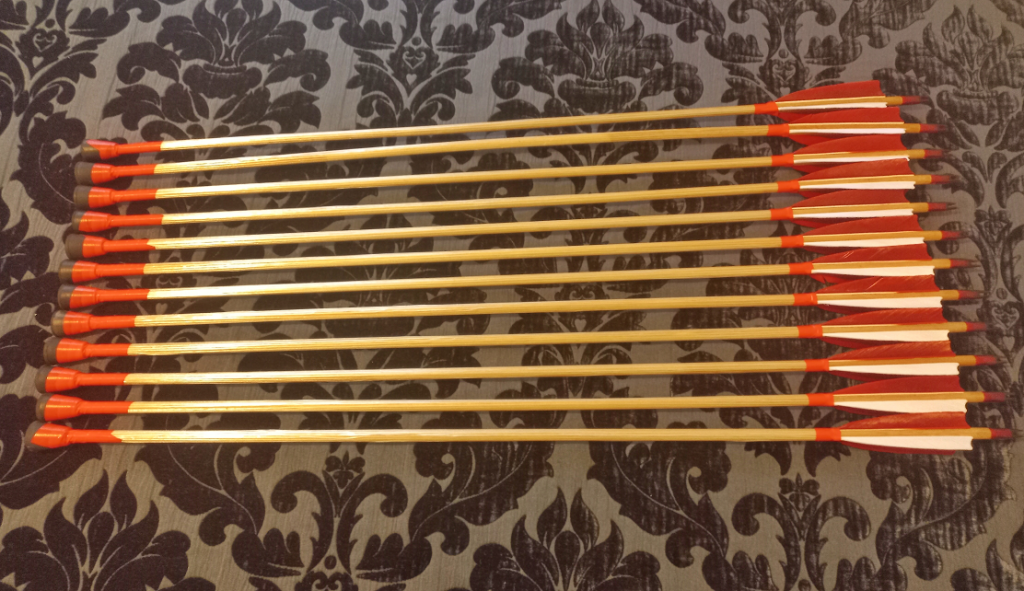
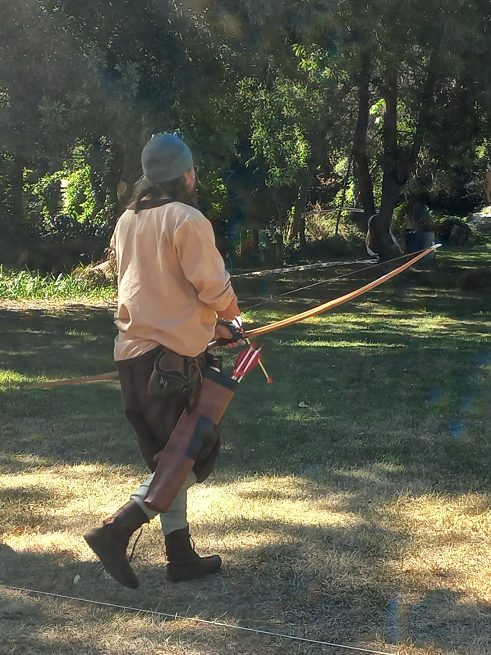
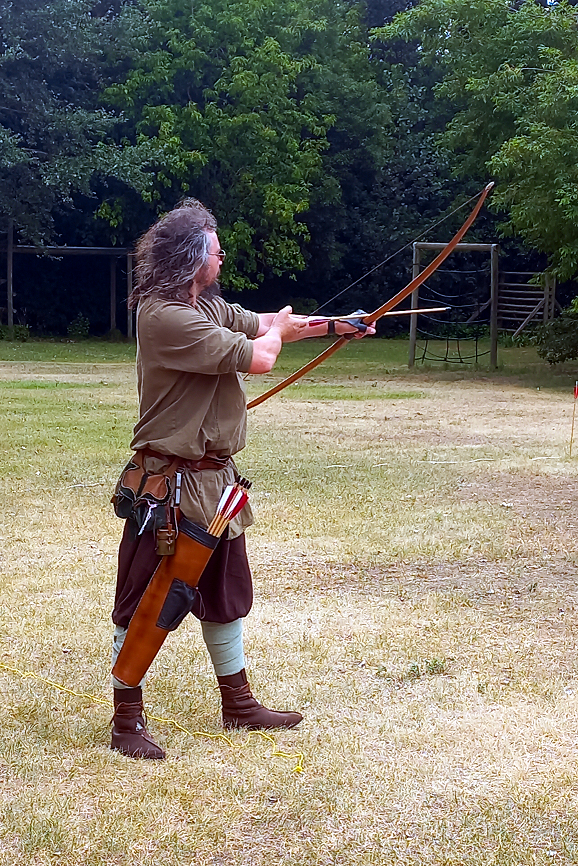
I had a dozen arrow shafts and a dozen combat blunt tips that I wanted to make into combat archery arrows but the arrows shafts were 11/32″ rather than 5/16″ and I was unable to use them for that purpose.
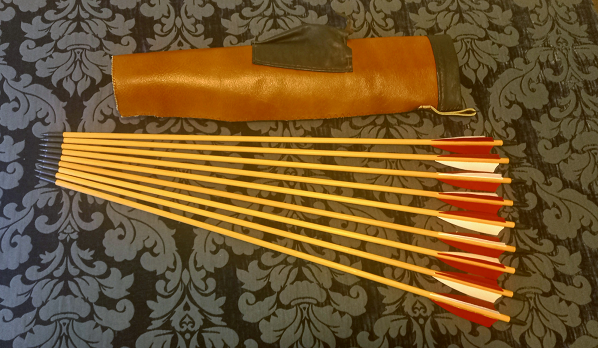
I then talked to some friends and acquired all the bits and pieces I needed to make 12 x 4-fletch combat arrows and 9 x 3-fletch target arrows, including the use of a fletching jig along with a couple of instructions on how to do so.
After attaching all the knocks to the arrow shafts, I then tweaked the fletching jig until it was set-up correctly and spent a couple of nights attaching 48 fletches in between doing other things. Next was taping the shafts with filament-tape attaching the blunt tips and taping the tips and flights.
Just like that, I now had a set of combat arrows.
I then repeated the process minus all the taping for my nine target arrows.
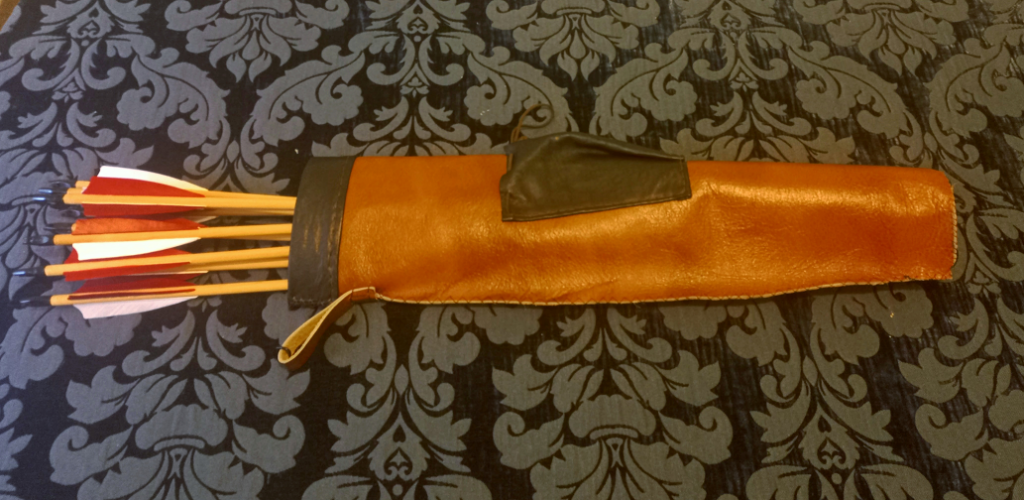
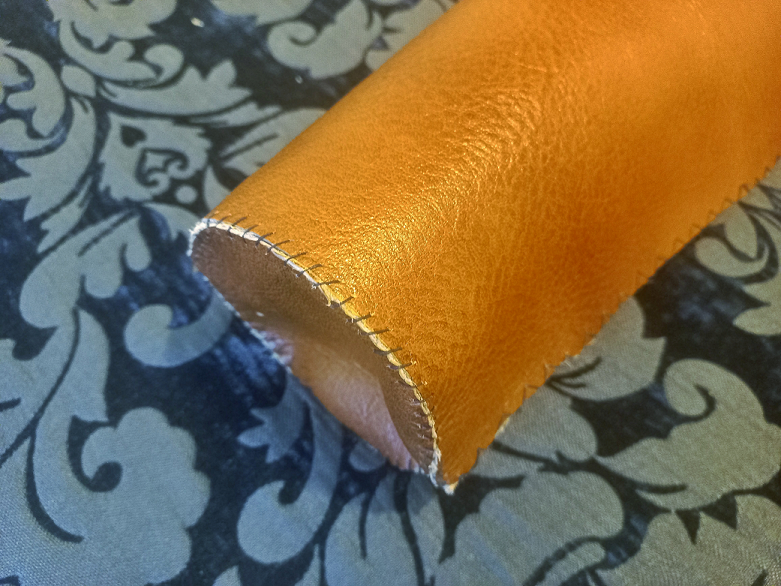
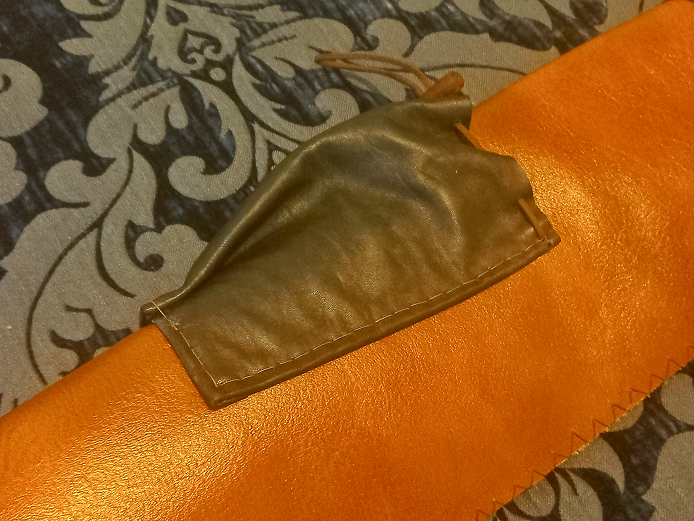
Now that I had made my first set of arrows, I decided that I would like a new quiver for them. I had picked up a nice looking quiver at the market made by Sir Callum and I used this design as the basis for my quiver.
I grabbed some leather and cut it into the desired shapes then stitched it together using saddle stitch, whip stitch and cross stitch.
I now have a new quiver and set of target arrows and an old quiver for my new combat arrows.
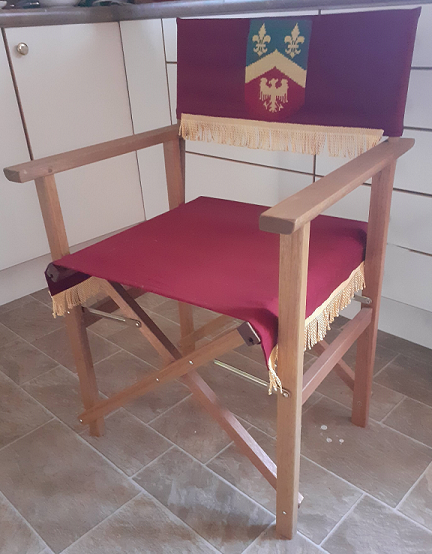
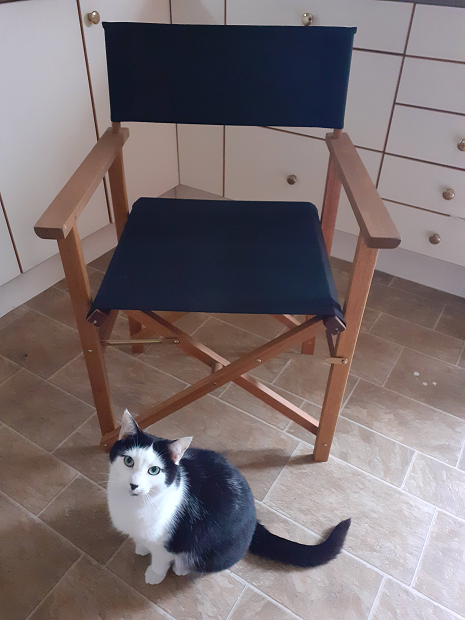
A chair, with personal heraldry, is shared under the categories of personalisation, preparation, transformation, inspiration, and imitation. (Or should that be approximation?) Isabel Maria describes the project:
“At Canterbury Faire 2023 it became clear my trusty chair was now rickety, having reaching the end of its usable life, and needed to be replaced. In preparation for this day I had purchased a new directors chair some time ago (on sale) and put it aside. Before Canterbury Faire 2024 I brought it out with the intention of transforming it into something that was clearly inspired by 16th century seating, and also recognisably mine, through the use of my personal heraldry
Inspiration
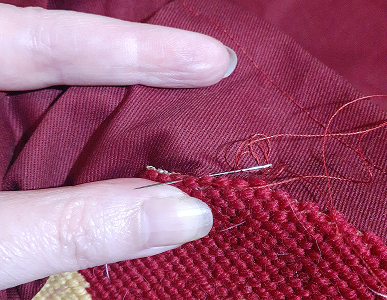
I started a simple embroidery of my arms at CF’23 as a fun time-filler activity. After I finished it I realised that I had really enjoyed the process, but that I did not like the proportions of the finished item. So, I made a pattern changing the angle of the chevron and reducing the height of the eagle and fleur de lys, and made a new one. The vague hope had always been to apply the finished item to my chair in some way.
There are several styles of chair that have the arms on the back, as can be seen on this pinterest board. Most are folding or “hip joint” style chairs, both of which are considerably more complicated and decorative that the chair I used, so any similarities need to come from the fabric and trim.
Materials and Construction
Many of the materials used in this project were items from stash (canvas, wools, fringe, thread) or purchased inexpensively (drill). Much of the construction is completed by machine to save time and keep the project moving. Fringe was sewn on in the placement seen most commonly on the hip joint chairs. The embroidery was basted in place on the back rest, as seen in several hip joint chairs, before being hand sewn to the burgundy drill.
Verdict and Next Steps
After considerable testing at Canterbury Faire 2024, I can declare this previously prepared chair comfortable, and easily recognisable. However it still seems a little, … plain. The next step is to make a fringed cushion, probably with my heraldry on it, to add more luxury and ‘bling’.
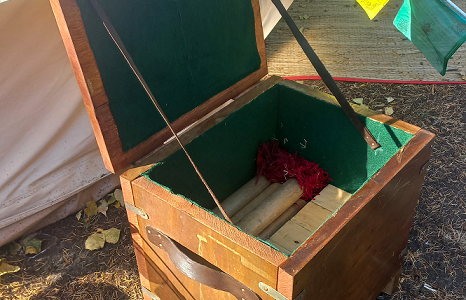
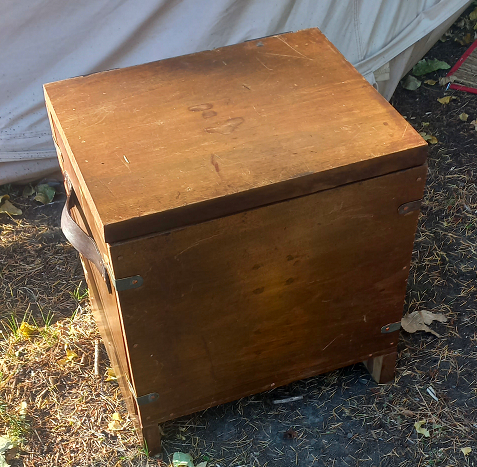
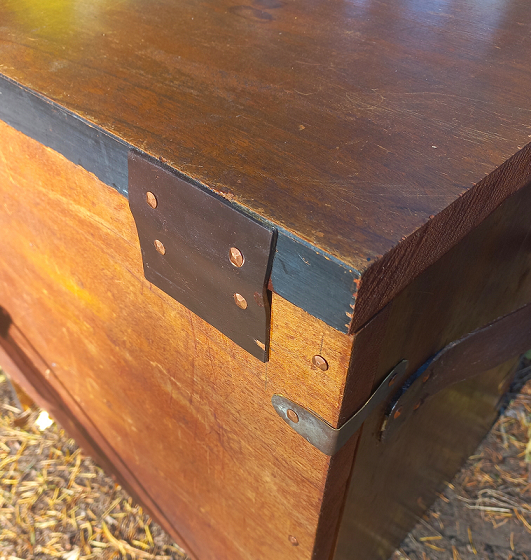
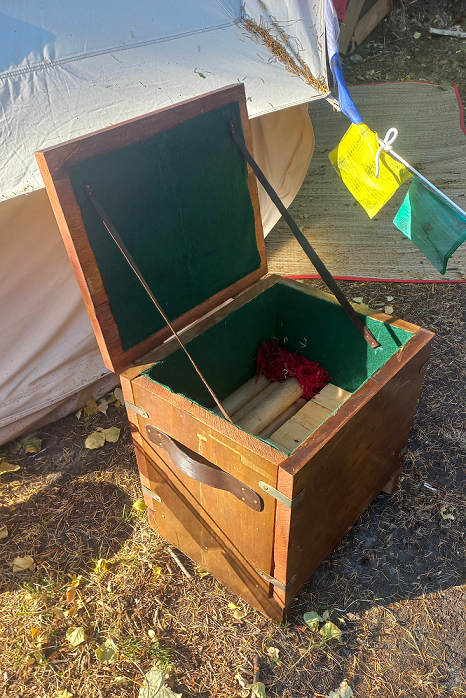
An entry for Personification, Transformation, Imitation and Preparation is described by Emrys:
“We had some old timber lying around from a dismantled piano. The timber was a little rough but the 2 boards were over a foot in width so I decided to upgrade my Kubb box. I went with a basic six-board chest.
I cut each board into thirds, this left me with six boards at 420mm x 350mm x 25mm. I then cut two notches (350mm x 25mm) out each side of the two side boards, to act as a shelf for the front and back boards. The bottom board was trimmed to 370mm x 300mm x 25mm. I then nailed the five boards together using square copper nails. I found some old wood stain and stained the visible cut edges of the boards. Next I got an old sheet of brass and cut out eight reinforcing straps, this brass looked aged and I left it as such.
I then got some heavy weight leather and cut out two pieces for handles and two pieces for hinges and then dyed them with a generic dye from Mister Minit. I cooked a small batch of rabbit skin glue and glued the leather in place. Then I nailed all the straps, handles and hinges in place and bent over any nail tips that were protruding. Next was laying the felt inside the chest, I bought some cheaper felt blend from spotlight but the widths that were on offer meant that I couldn’t lay one piece inside the chest and had to settle for two pieces on the inside and two pieces for the lid. I then made another larger batch of rabbit skin glue and glued down all the felt. Lastly I cut out two light weight pieces of leather for stays and nailed them in place to the lid and the side boards.
The chest is a little rough around the edges but serves well as a Kubb set holder and a seat.
I am looking forward to making a larger, grander chest.