
EEEEC: Ginevra di Serafino Visconti’s Silk
An entry for the category of personalisation.
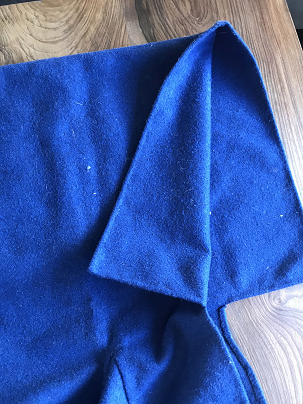
“This was quite a long running project. I had a hood for several years that I was avoiding wearing, because it fit oddly, and I’d just found the leftover fabric from making it while tidying up, so I decided to fix that.”This was quite a long running project. I had a hood for several years that I was avoiding wearing, because it fit oddly, and I’d just found the leftover fabric from making it while tidying up, so I decided to fix that.
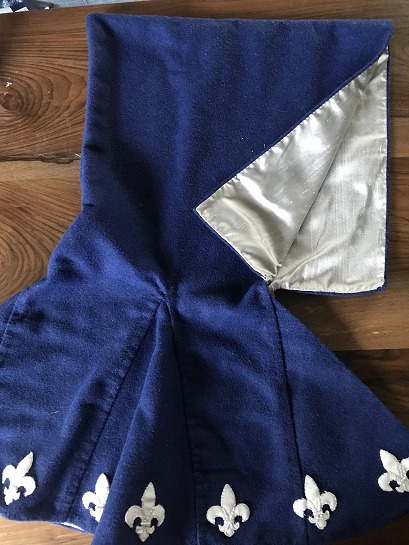
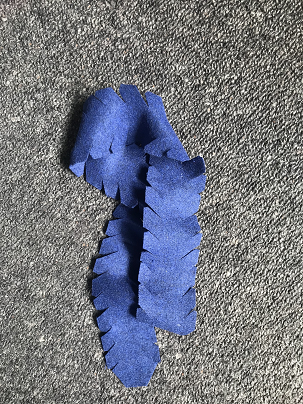
“I dismembered the hood, and played with pins and basting till I had an adjusted design that I liked. I then cut the old hood pieces to the new shape, and from the found fabric cut front panels and also a detachable liripipe (detachable, because around the start of this project I read in an article that there were sumptuary laws about women having liripipes, and so detachable ones became a brief trend which struck me as delightfully silly – but the article in question is eluding me now, so I can’t provide a link) “I dismembered the hood, and played with pins and basting till I had an adjusted design that I liked. I then cut the old hood pieces to the new shape, and from the found fabric cut front panels and also a detachable liripipe (detachable, because around the start of this project I read in an article that there were sumptuary laws about women having liripipes, and so detachable ones became a brief trend which struck me as delightfully silly – but the article in question is eluding me now, so I can’t provide a link)
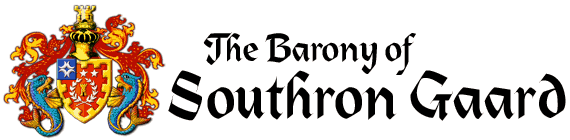
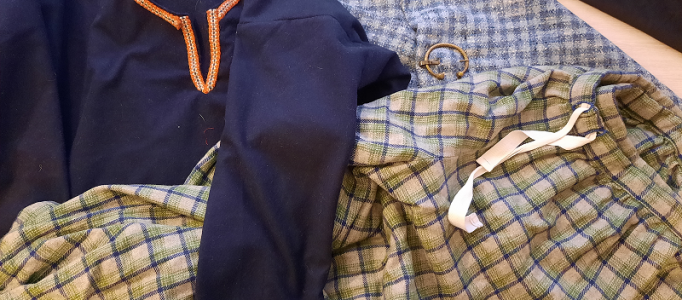
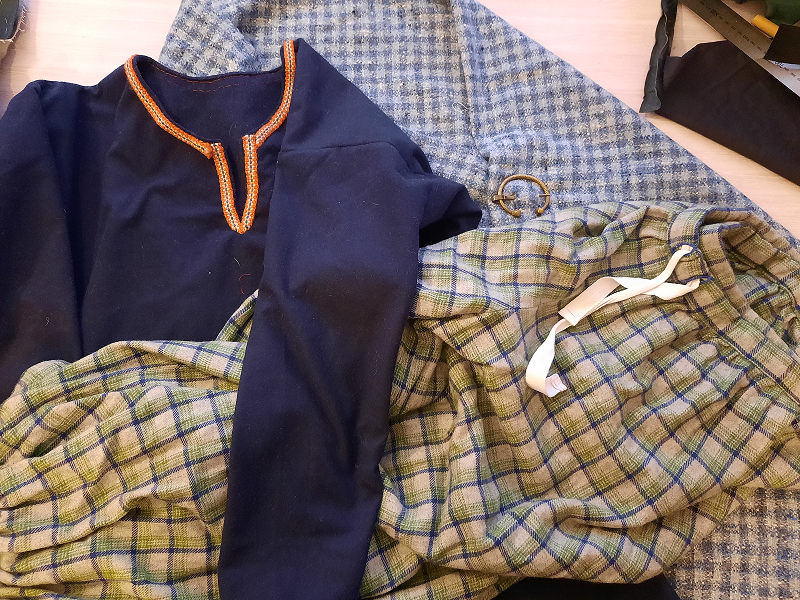
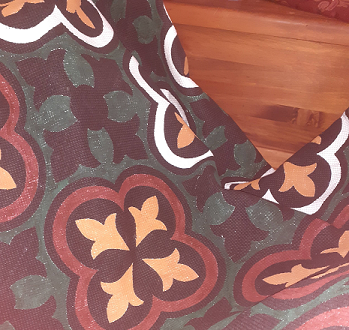
“I then used those pieces to cut a lining in a combination of silk and linen, using the silk where it would show, and look fancy, and not matter that it’s slippy, and the linen everywhere else to help the hood stay on my head.
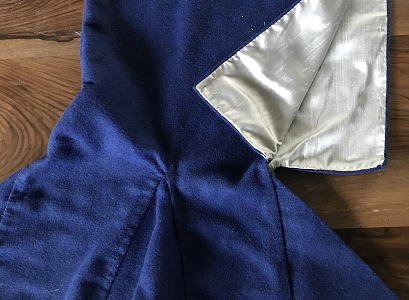
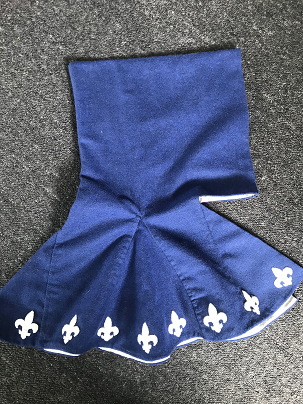
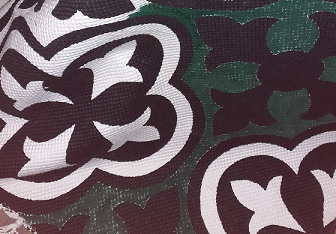
“I then sewed the outer back together and, because most of the time I want to wear a hood it’s because I’m outside watching a tourney, and because I am honoured to have Master Richard fight for me at those times, I appliqued fleur de lis in white velvet (donated by the wonderful Lady Margretta), outlined with DMC Perle cotton around the base of the hood.
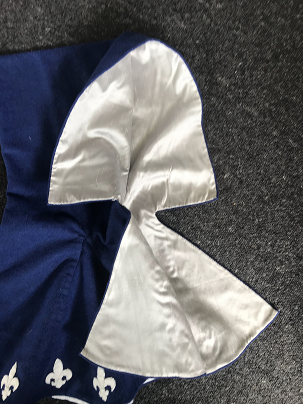
“I then attached the lining, as seen below. Testing has shown that the lining does work as intended – the linen does help with stability and the silk does look very pretty when it shows.
“I was going to add buttons, also with fleur de lys, to help the hood stay on in the wind, and make it thus a little warmer, but I ‘borrowed’ the buttons for another hood remodel and the replacement ones have not yet arrived.”I was going to add buttons, also with fleur de lys, to help the hood stay on in the wind, and make it thus a little warmer, but I ‘borrowed’ the buttons for another hood remodel and the replacement ones have not yet arrived.”


.jpg)