HC2018 – Lady katherine’s bags
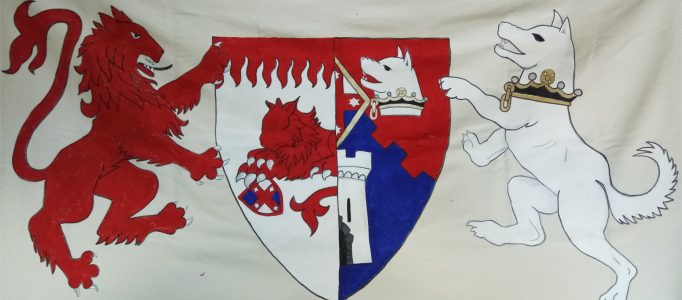
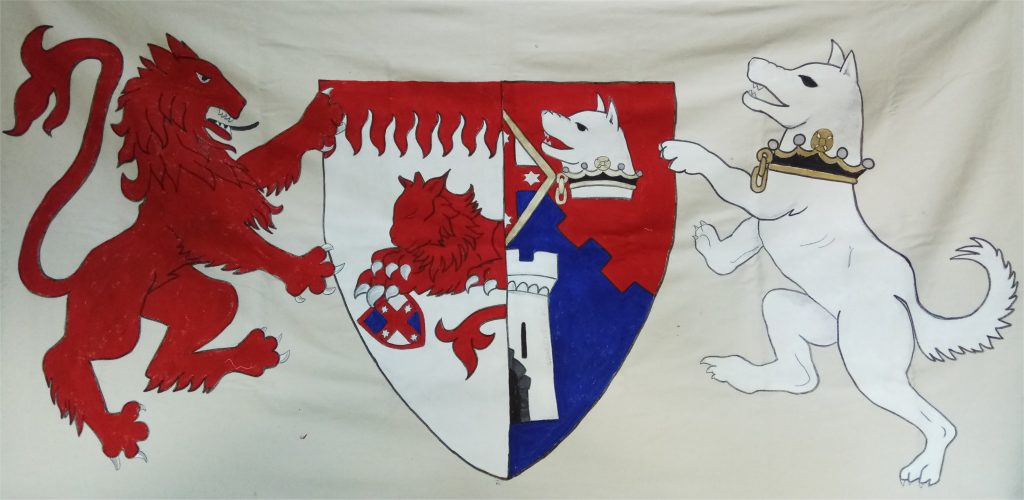
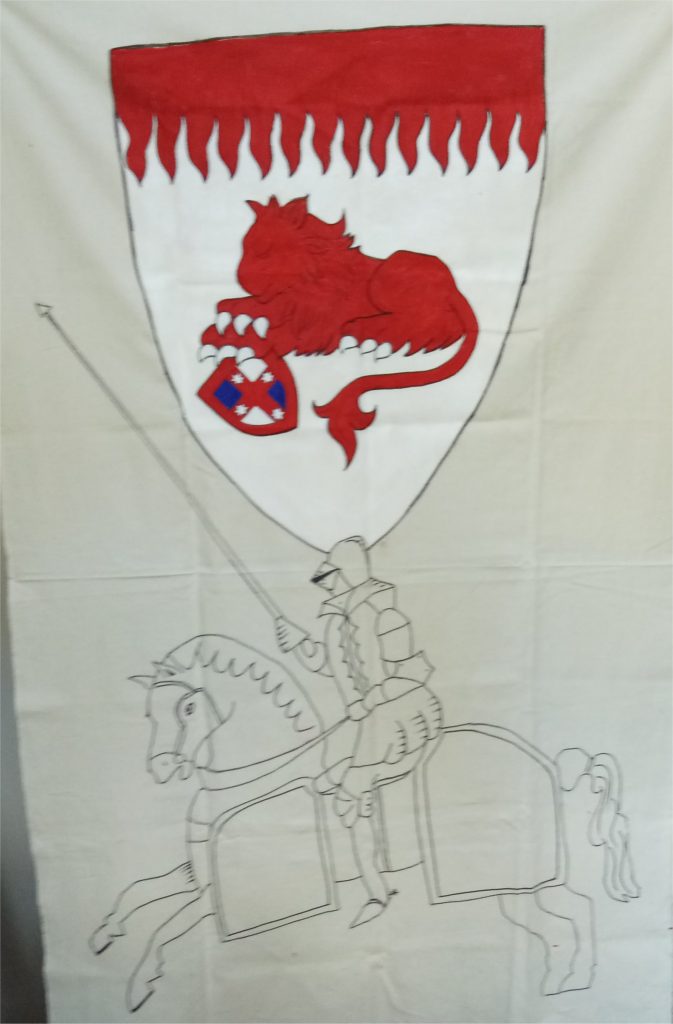
Something to cover the mundane – Lady Katherine Stewart. One of those bags you get goodies in at shows, with the writing on it covered with applique
And a lovely gift, made by Lady katherine for Sir Callum
Something to cover the mundane – Lady Katherine Stewart. One of those bags you get goodies in at shows, with the writing on it covered with applique
And a lovely gift, made by Lady katherine for Sir Callum
For the category – Something to mark territory, Lady Amabilia submits this cushion.
The Embroidery is done using blackwork techniques, with 2ply navy blue silk thread on uneven natural linen.
This joint project is for the categories Show Us Your Arms, One Metre Material Project, Give What You Get, Fly the Colours, Remake, Reuse, Refashion, Reconsider, Containment System.
Meisterin Christian says:
Baroness Ginevra recently completed embroidered Baronial augmentation cantons for the baronial kneeling cushions. She asked for a volunteer to sew these to the kneeling cushions and I obliged. She also asked for bags to contain and protect the cushions (the baronial cushions had never had bags, and the Lochac kneeling cushion bags had disappeared). On close inspection the cushions were very dirty, and the velvet fabric very faded, so I offered to refurbish them so they would not look a little tatty against the new embroidery. The cushions were originally embroidered and constructed by Baroness Eleonora and Mistress Madeleine more than 20 years ago, so its no surprise that they were in need of a little care and attention.
I dismantled the cushions and vacuumed the embroidered pieces (it is best not to try and wash or dry clean embroidered needlepoint, as this can ruin the piece, esp. anything red). The canvas had become very soft over time and had started to come apart in places. I mended and over sewed the edges and seams to keep them together. Thanks to THL Ydeneya for donating some red velvet for the project when there was none to be found.
The augmentation of arms cantons were stitched on by hand, with some additional tacking stitches to ensure the soft cushion canvas did not rub against the stiff new canvas and become damaged. The cushions were reassembled and the canvas bottom layer was renewed. The canvas needlepoint of one cushion has always been out of square, which makes this cushion a little awkwardly shaped and wrinkled.
The cushion bags are simple and practical (and fairly ugly) and have their purpose written on them in hope they will not be lost again. Please take care of the cushions and bags, and ensure they don’t get lost or further damaged!
This hood is presented for the categories The Neck Best Thing, Cover Me, One Metre Material Project (wool fabric), Counting (on) Sheep.
Meisterin Christian says:
I anticipated needing some additional warmth around my head and neck for the Fiery Knights event, but I didn’t have anything as I’m not a fan of hats or headwear. I decided the most appropriate period choices seemed to be the Hedeby hood or the Skjoldehamn hood (whether or not the Skjoldehamn hood is Viking or Sami remains a matter of debate, however as both Viking and Sami occupied the area at the time (late Viking-period), some concordance may not be out of the question). I wanted the hood to go with the red wool Viking coat I made for cold nights at camp, and remembered that somewhere I had scraps of that fabric. Upon excavating my fabric stash, I found I had two strips of the fabric, each about 90x30cm. This ruled out the Hedeby hood, but was pretty much the same size as the fabric for the Skjoldehamn hood. I decided to make the hood as close to the original as possible to the original to better understand how the period garment was constructed and might have been worn. The construction of this hood is not quite as simple as it may seem, however I could easily have completed the garment in less than one day if I’d had the opportunity to do so.
The original hood is comprised of a square of wool about 60×60 cm, which was folded in half and sewn together along the top and down the back (of the head), with a slit at the lower front and open seam at the lower back into which square gores approx 30×30 cm were inserted, and the front of the hood was slit open for the face opening. Since I had two strips 90×30 I had the right amount of fabric, but the hood had to be sewn together (rather than slit open) at the front as well as the back. The person who had worn the original hood was probably an adult around 5 ft high (just a few inches shorter than me) so I thought I’d make the hood the same size, but with slightly smaller seam allowances. The finished hood is snug and comfortable but not tight, and covers the top of my shoulders, chest and back just fine, so the sizing seems good. I do find it a little difficult to lower and raise the hood but that is largely due to my ponytail.
I constructed the hood as close to the original as information allowed, e.g. all the seams were sewn from the outside, by turning the seam allowances in along the top and back of the head of the hood, and along the gores and sewing the outside of the seam with in an overcast stitch. The original was described as a non-decorative stitch; I used some wool sewing thread that was a close match for the fabric colour so the resulting seam was definitely not decorative, and mostly invisible. All the seams in the hood other than along the top of the head were then opened out, and stitched from the outside with an alternating, slightly diagonal running stitch which was also non-decorative. This essentially flattens out the seam allowances and holds them flat on the inside of the hood. This is an effectively way to ensure they don’t stick out and catch on the wearer’s hair.
Along the top of the head of the original hood there are several rows of running stitch that go across the top of the head, and then “dip” to follow the curve of the back of the head, creating what some call a “cockscomb” effect. It has been speculated that this was intended to make the hood sit better, and further forward on the head. I replicated these stitches, although I did not take the final line of stitching so deep at back as the original so as to accommodate my topknot ponytail. This “cockscomb” did indeed seem to keep the hood more snug and more forward, but this might just have been because it fit closer around the head. We will never know if this was intended in the original, or was this originally done to e.g. “downsize” the hood to fit the specific wearer.
I had to depart from the original construction technique in needing to overcast all raw edges (other than the top seam which was enclosed inside the lines of running stitch) as my fabric was quite “sleazy” (thanks to Baroness Eleonora for this weaving term meaning a ” fabric with a very loose weave which has a tendency to come apart at the slightest provocation”). I used a simple overcast stitch again in the same thread so this is largely inconspicuous.
At the face opening of the original hood a narrow seam allowance was turned in, and a non-decorative cord (i.e. not a contrasting colour) was couched around the edge of the seam allowance of opening on the inside with a decorative couching (i.e. contrasting) stitch. The original decorative stitch changes colour at one point, as if the maker ran out of the first coloured thread. I choose to use one decorative colour (in this case the pale gold wool that was used to decorate my coat) as it would otherwise look odd to modern eyes. It seemed a shame to miss out on the opportunity to use a decorative cord around the face as well (other garments in the original outfit have some highly decorative touches, and the hood seems somewhat under-decorated by comparison), but I found in my stash a cord of a slightly different red wool which I’d made for another project. This was then subtly decorative, hopefully satisfying both me and the original.
The lower edge of the original hood was not folded under, merely overcast along the cut edge. My sleazy fabric was not stable enough to do this, so I had to fold under a small hem. One source says the original hem was overcast with a stitch that was “parallel to the thread”, so I used a simple blanket stitch. In the original this overcasting is not decorative, but I used the pale gold-coloured wool again to match the decoration on my coat as by this time the hood was looking a bit plain and not very “matchy” with the coat. I’m still not sure how I feel about this and may yet change that.
The original hood has two cords attached to the outside, described as being placed “under the ears”. There is speculation among archaeologists and reenactors as to what these cords are for (e.g. pulling the hood closed around the face, pulling it open by tying at the back of the neck / head) but it was noted that there is little wear apparent so it is assumed that the cords on this particular hood were not much used. I did have some cord left over from my coat which just happened to be the right length for these. I pinned the cords on to the hood and tried the hood on, pulling the cords both forward and back. I decided I didn’t really have much need to pull the hood closed (no snow storms expected) or keep it open (I preferred to pull it down around my neck for temperature control and to avoid impeding my peripheral vision), and since the cords really annoyed me dangling either side of my head I took them off and put them in the naughty corner, from where they may or may not be attached at a later date.
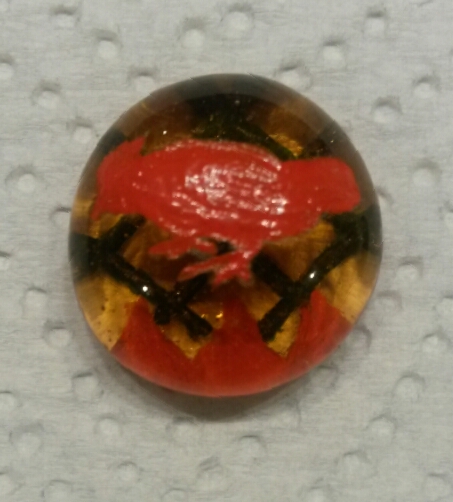
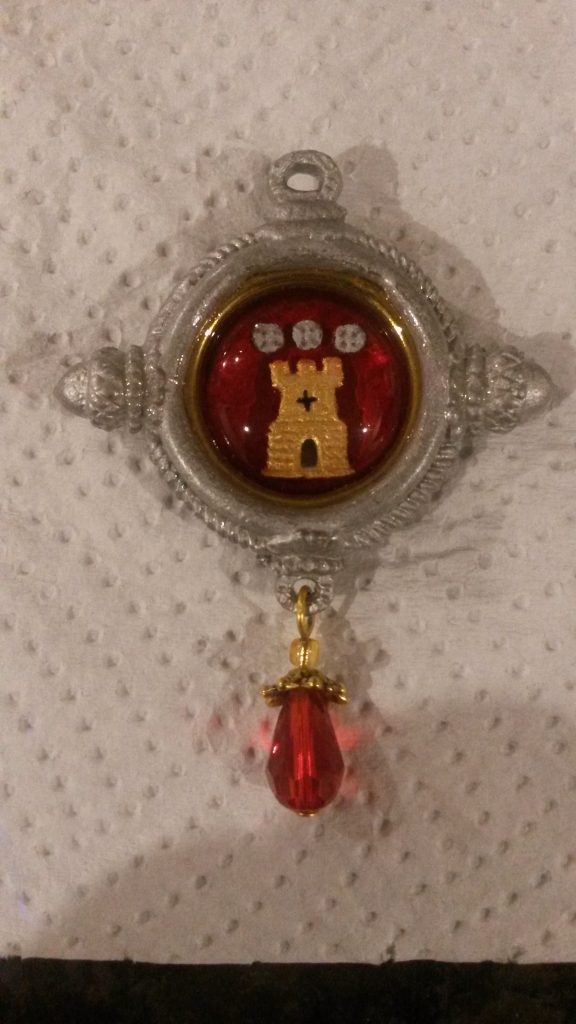
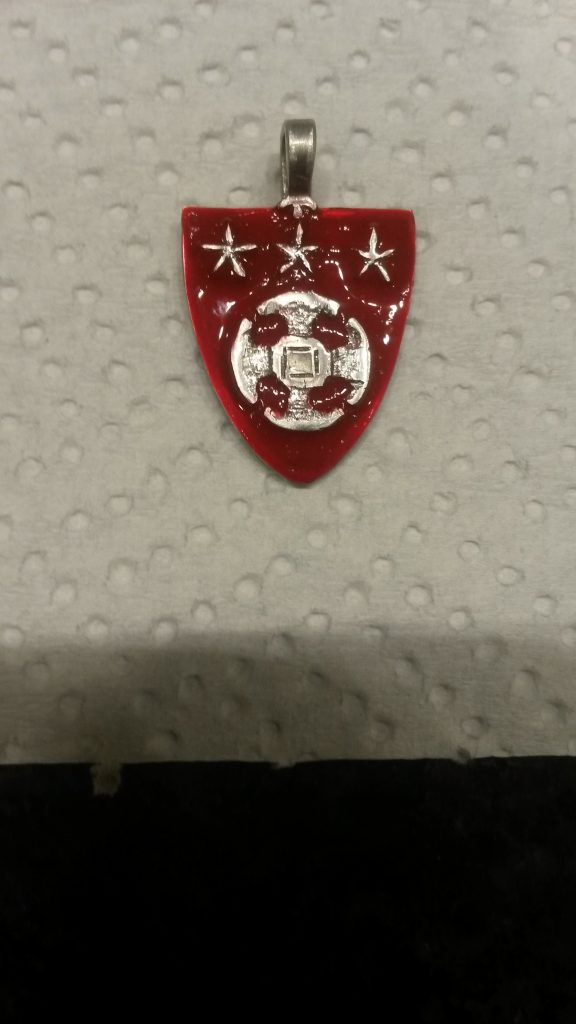
Richard and Ginevra, Baron and Baroness of Southron Gaard, in appreciation for heraldic display, and the high standards of inventiveness seen amongst the populace, would like to announce the Third Baronial Heraldic Challenge.
The Challenge shall run until next Baronial Anniversary, when we shall hope to see a magnificent display of both personal heraldry, or that of any awards you may have received.
Please direct any questions about the challenge to Baroness Ginevra.
If you’re interested and not sure where to start, we are also running monthly Creative Commons evenings during 2018. These are held the first Tuesday of each month at Avice Hill Community Centre. For more information, please see the list, or the FB page.
This entry is presented for the categories Child’s Play: Out of Your Comfort Zone (Embroidery), One Metre Material Project (linen and lace), Give What You Get, and Togs, Togs, Undies.
Meisterin Christian says:
I have been interested in the lovely late 16thC linen shirts with silk insert embroidery stitches, but alas this is too late for the clothes I wear in the SCA. I decided to make one for my goddaughter for 2017 Midwinter Coronation, both as a gift to her and also as an experiment to learn more about these shirts and their construction. I was also looking for a project to take with me on a 4WD camping trip at Easter. (What I should have taken was the Skjoldehamn hood (although I hadn’t even thought about making it at that point), as trying to hand sew a white linen shirt outdoors in crepuscular light and a windy, wet, muddy environment was not ideal.)
I worked from several extant women’s smocks and boys shirts in Janet Arnold’s Patterns of Fashion 4, and a girl’s smock pattern in the Tudor Tailor. As the child was only 2 years old I had to scale down the extant patterns in size, but still leave room for growth as the event was some months away. There was always a chance that her growth would not be linear and the smock would either swamp her or be too small (I had backup plans for either scenario). Also chances were, that given the pace of growth for toddlers and the number of SCA events each year, she might also only be able to wear the smock once.
The extant shirts and smocks are made of white tabby woven linen in various thread counts. I made this shirt from less than 1 metre of such linen; offcuts from one of my own smocks. I imagine that women in period, who we know often made shirts and smocks for their family (even if tailors or servants made their other clothes), would have used remnants in the same way for their children.
Each pattern piece in the original was hemmed first, with narrow (~3mm) hems and then the pieces were sewn together with the coloured silk in a decorative stitch. Due to the light and mud (see above) the hems done in the field weren’t always 3 mm, but once back in the real world the later hems were nice and tiny. There is no reference in Janet Arnold to the stitch used to hem the originals so I used a simple whip stitch with a white linen hand sewing thread; these stitches are essentially invisible in the completed piece.
Due to the less than optimal sewing conditions outdoors, the many small pattern pieces, and the danger of losing pins in the muddy grass, I loosely slip-stitched the hemmed pieces together before stitching the pieces together permanently with the insertion stitches. Given the child is generally energetic, it seemed a little reinforcement to the slightly fragile embroidery stitches might be a good idea. It’s entirely possible that this could have been done in period; the tacking stitches are also virtually invisible in the completed garment.
For the insertion stitches (that join the garment pieces together) I decided not to use silk because of the cost (since the child might only wear the shirt once) and because a toddler’s clothes are likely to need some serious laundering. I substituted DMC embroidery thread, which I was assured would be colour fast even in nappy-soaking chemicals (so far, so good). Having surveyed the silk colours of extant garments in Janet Arnold, I tended to a crimson, and with the help of the child’s mother and other godmothers selected a colour we all liked. Late period embroidery is definitely outside my comfort zone. Having looked at the embroidery on various extant garments, and searched for information on period techniques, I experimented with a few until I found stitches that I liked. Some of the extant shirts also have decorative embroidery on parts of the garments other than the seams (e.g. sleeves), and/ or also alongside the insertion work on the seams. Given the child may only wear the shirt once or twice, I decided the additional work was probably not warranted.
The remnants I had were not enough to cut the sleeves in one piece so I had to piece them. I’m sure this would not be uncommon in period for economic reasons. Initially I planned to put the additional seam at the back of the sleeve where it would not be obvious, but then I decided to make a feature of it by putting it at the front and embroidering the seam which would add interest if the shift was worn with an open front sleeve. I started my embroidery here. I decided I really liked the alternating triple stitch buttonhole stitch so I played around with the stitch until I found a technique that produced the right look and was easy to maintain in a steady stitching rhythm. I sewed a couple of inches and decided that it was too large a scale for such small garment, so unpicked it and went to double stitches. Once I’d sewn the whole seam I realised it was really red and overwhelming, and then recalled a shirt that had a white linen thread stitched over the insertion silk embroidery on one shirt, and for which I’d thought – why would you do that? Why use practical white linen thread decoratively on top of red silk? Now I wonder if the embroiderer thought as I did that there was too much red in that stitch, and it needed more contrast from the white. The stitch was also (comparatively) very slow and used a lot of thread, so I decided it wasn’t going to work for the whole shirt. I decided to change to a single alternating stitch for the rest of the shirt. Its not clear if different insertion stitches were used in different parts of the same shirt, but it is clear that decorative embroidery used a variety of stitches on the same garment, so I went with the change. It also made more of a feature of the centre front sleeve seams. After some experimentation I chose a pretty standard looking insertion stitch (essentially an alternating blanket stitch with another stitch into the intersection to “knot it off”).
The body and sleeves were gathered into a collar and cuffs to make the smock more comfortable for the wearer. For the same reason I choose to attach a flat band of lace to the collar and cuffs. I briefly contemplated making the lace, but since the child might only wear this once, that seemed unwise. Ties at the cuffs and collar in the original garment were inserted through sewn eyelets, but I figured a toddler would have those out and lost within minutes, so instead I sewed soft tape ties on as neck and wrist closures.
More entries from Baroness Agnes – the herbal contents of a medieval medical chest for the category For Science! and a simple Renaissance style dress made as a gift for a relative newcomer for Give What You Get.
About the herbs, she says:
The beginnings of the contents of Agnes’s medical chest. Pictured are mint, lemon balm, sage, plantain, rosemary, catmint and cleavers. These were located, identity confirmed, harvested, dried and stored. Eventually they’ll get nicer jars and a chest to live in, but the herbs are the central aspect.
About the dress she says:
A simple renaissance style dress for [a friend] who wanted to come to Faire. Unfortunately she never made it, so there’s no photo of the relative newcomer in the dress, but I still made the dress, and she’ll still wear it one day.
Mistress Antonia brings us these delightful outfits for Charley and Posey Panda – late Sui, early Tang Dynasty garb for the categories Out Of Your Comfort Zone (being from the Far East!), One Metre Material Project, and Togs Togs Undies!
Mistress Antonia says:
I can only offer the most modest documentation…
Posey’s outfit is modelled on images of court women of the Tang dynasty. She’s wearing a two-piece outfit (襦裙), a typical Tang dynasty outfit consisting of a blouse (襦, ru) and a wrap-around skirt (裙). Charley’s wearing formal attire, consisting of a round-collared robe (yuanlingshan 圓領衫) over an inner robe (tie li, 貼裏).
Both pandas have a full set of underclothes. I didn’t have a lot of information about Tang underwear specifically, so I modelled them on more modern Hanfu underwear.
I gave Posey a pink peony headdress because large flowers on heads crop up in some Tang Dynasty paintings, such as Zhou Fang’s Beauties wearing flowers. I wanted some version of the typical scholar’s/official’s hat for Charley, but it wasn’t really something I could make myself, and buying one was financially prohibitive, but I spotted felt bowler hats with ears on Ebay for just $5– and I thought that maybe a panda would rather have room for his ears than for a topknot he doesn’t have anyway. Everything was made from fabric I already had, and almost all of it just scrap. Total expenditure for the project (excluding pandas) was about $15.
Dona Isabel Maria presents what she described as a “knock off Perugia towel” for the category One Metre Material Project.
She says:
Having long wanted a Perugia towel of silly proportions but not being interested in learning to weave, and baulking at the cost of good reproductions, it became necessary to figure out how to create a plausibly period knockoff in time for Canterbury Faire.
I bought one metre of linen canvas (wanting something slightly more substantial than shirt weight but having limited options), washed it and ironed it dry before remeasuring the piece and squaring it up. I then cut it into two and stitched the pieces end on end before hemming the sides and fraying the ends to form a knotted fringe.
To imitate the Perugia towels, I then embroidered a stripe on it using Elizabethan Knitting Stitch. To save sanity, I used waste canvas to gauge the stitching as the canvas proved to be rather uneven.
VERDICT: This towel was used at Canterbury Faire, alongside my wash station, and proved to be eminently practical, particularly when combined with the shelf.
Baroness Agnes brings two articles of headwear – a French Hood for category The Neck Best Thing and a St Birgitta’s Cap for category One Metre Material Project
She says about the hood:
A french hood to compliment Agnes’ Tudor garb. It’s wired fake-buckram covered in brocade, with glass pearl accents to create the look. It perches on the head rather than being an encompassing hat, so I shall make another eventually.
And about the cap:
A super-useful hat to hold the hair away that can be found through Europe 13th to 16th C. This one specifically is a commission for katherine kerr. Linen, with manufactured lace because I’m no embroiderer. This is being entered in the A&S championship.